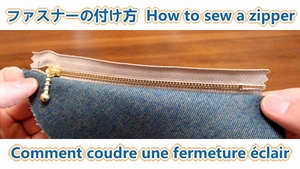
How to put in a zip (How to insert a zipper to a bag or pouch) – How to sew a zipper by machine
How to sew a zipper with a sewing machine. In this tutorial, we’ll show you how to put a zipper using a pouch as an example. This guide is for beginners. The key to sewing a zipper is to pin it in place so it doesn’t shift, and to sew slowly.
It’s best for beginners to start with small items like a zipper pouch, as they’re easier to handle and less likely to go wrong. Once you master how to sew a zipper, you’ll be able to make a wider variety of projects, so be sure to give it a try! This time, I’ll show you how to sew a zipper using a standard metal zipper.
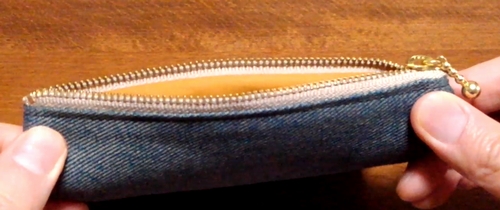
Using a lined zipper pouch like this as an example, I’ll show you how to sew in a zipper. (How to stitch zipper.) This is how to put a zipper with a sewing machine. It’s the most basic method, so make sure to master it well.
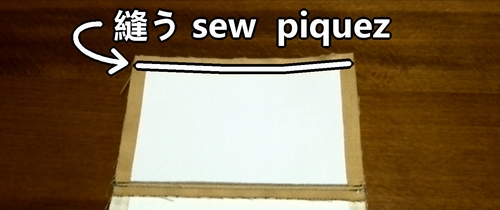
1. First, place the fabric that will be the outer side of the pouch and the zipper with their right sides together, and sew them. “Right sides together" means placing the front sides of the fabrics facing each other. When sewing the zipper with a sewing machine, pin it in place so it doesn’t shift.
Use the zipper foot on your sewing machine. One tricky part when sewing a zipper is dealing with the slider. As you sew with the machine, if the slider gets in the way, move it to an easier position to sew, and then continue sewing.

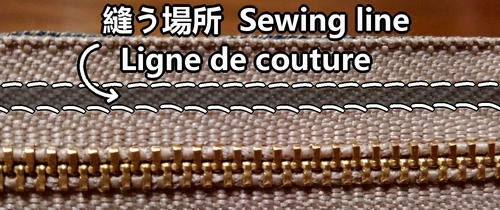
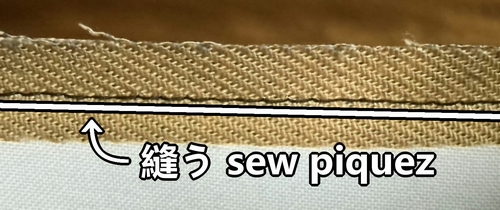
2. When sewing with a machine, aim for the area between the two lines on the zipper tape. If you look closely, you’ll notice that the direction of the weave on the tape changes.
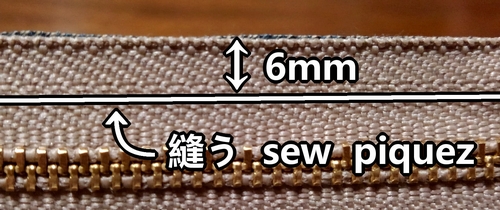
3. In terms of exact measurements, sew about 6mm from the edge of the zipper tape.
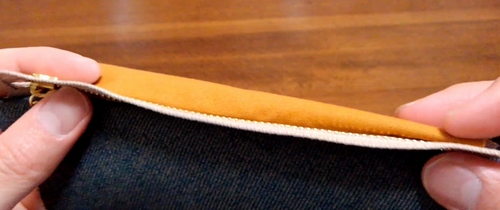
4. After sewing the zipper onto the outer fabric of the pouch, place the lining fabric on top with right sides together and sew them together.
5. Sew slightly inside the first line you stitched. This way, the first line won’t show on the outside, giving the zipper pouch a neater finish.
6. Now, one side of the zipper has fabric attached. If you attach the other side in the same way, both sides of the zipper will have fabric. The next steps vary depending on what you’re making, so we’ll stop here for now. This concludes the tutorial on how to sew a zipper on a pouch. (How to put a zipper with a sewing machine.)
Here’s the video version of how to attach the zipper.