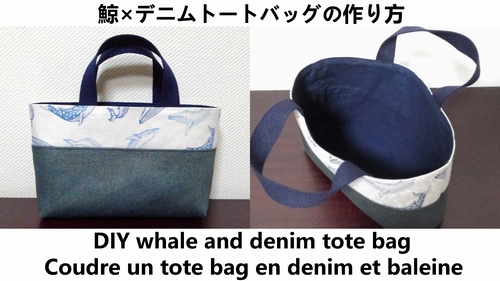
Tutorial:a patched mini tote bag(DIY cotton tote bag)
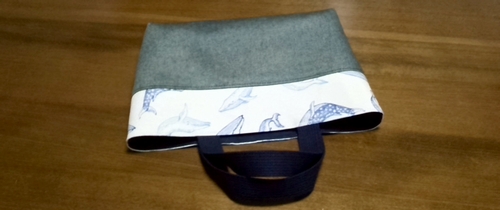
Today’s DIY (handmade item) is a patched mini tote bag (with lining and flat bottom). This cotton tote bag is made by stitching together “fabric scraps”. When it comes to scraps, you can make various patterns of tote bags depending on the color of the fabric and different combination of patterns.
How to make it itself is not so difficult. So even beginners can easily make this tote bag. The finished size is about 16cm x 24cm, with a gusset length of about 7cm, which is rather small for a tote bag.
When making bags and pouches by handcraft, fabric scraps increase before you realize. This tote bag also makes effective use of such a piece of fabrics. Please combine various fabric scraps and make “your own tote bag”.
Materials
The 2 pieces of fabric for the exterior are 16cm x 33cm. (Seam allowances are included, interfacing to be attached)

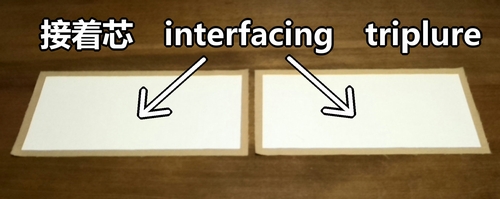
Fusible interfacing gives the fabric firmness, and helps to keep the shape of tote bag.
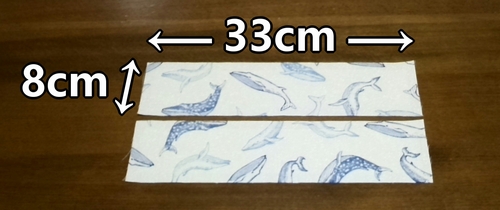
The 2 piece of fabric for the patch are 8cm x 33cm. (Seam allowances are included, interfacing to be attached)
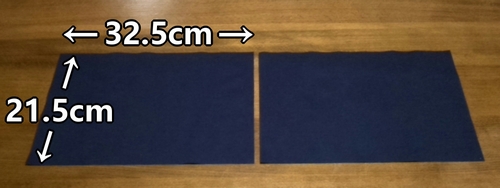
The 2 pieces of fabric for the lining are 21.5cm x 32.5cm. (Seam allowances are included)
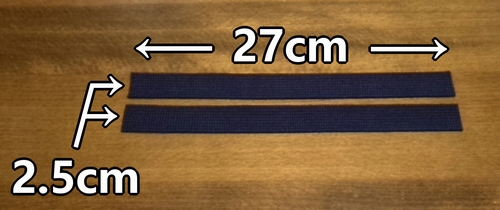
Handles are 2 pieces of 2.5cm x 27cm. The handles can be made from any fabric you like, but I recommend using acrylic webbing, available at craft stores. (This way is easier and more convenient.)
How to sew the exterior fabrics of the tote bag
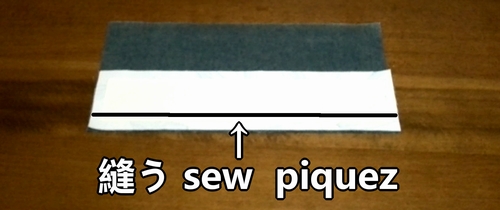
1. Sew the exterior fabric and patch fabric with right side together. (This means the front sides of the fabric are lined up with each other.)
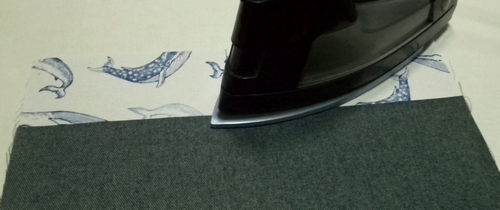
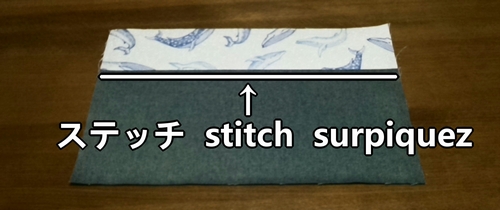
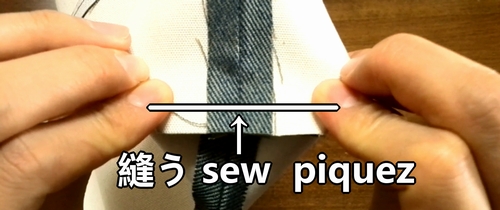
2. Press seam allowances over to the exterior side, and stitch at the edge.
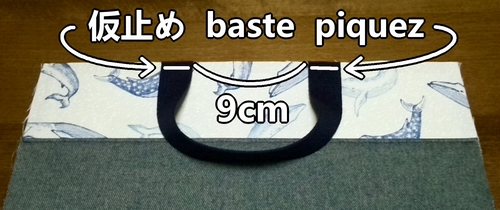
3. Baste the fabric and handle together.
4. The remaining fabric should be sewn in the same way.
How to make the bag body (exterior bag)
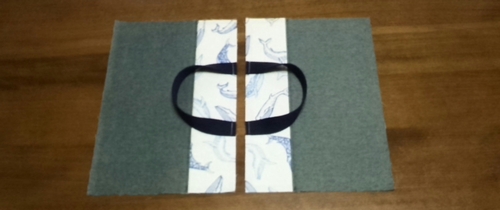
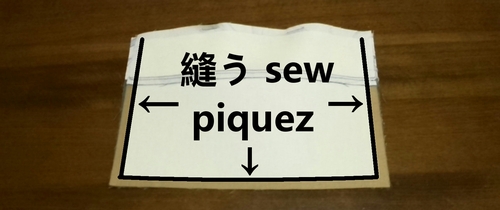
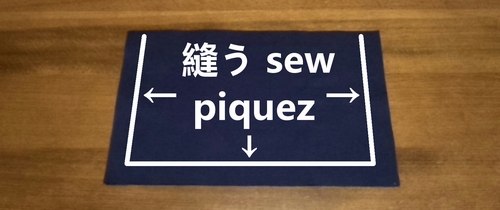
1. Place the exterior fabrics with right sides facing each other and sew the side and bottom.
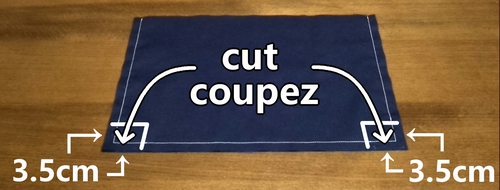
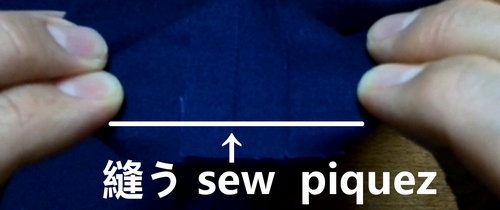
2. Cut the extra fabric, press the seam allowances open, and make the gussets. (The gusset will determine the thickness of the bag.)
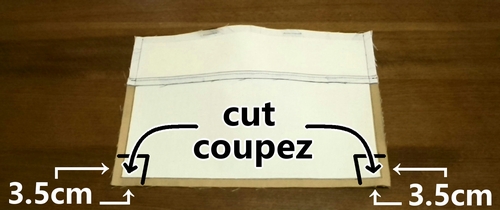
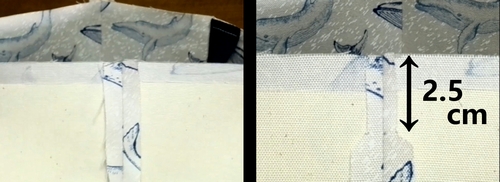
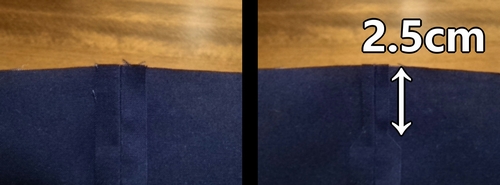
3. Cut a little extra seam allowances at the sides. (about 2.5cm from the opening)
How to sew the bag body (lining bag)
1. Layer the lining fabrics with right sides, and sew the sides and bottom.
2. Cut off extra fabric and press seam allowances open. Then make the gusset, and sew.
3. Cut a little extra seam allowance at the sides. (about 2.5cm from the opening)
How to make the tote bag (finishing the bag)
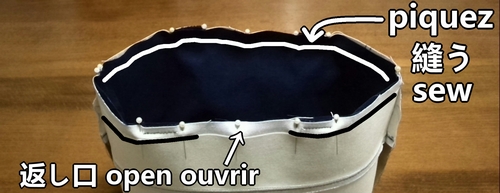
1. Insert the lining bag into the exterior bag with the right side together and sew around the entrance. (Leave about a 7cm opening to turn right side out.)
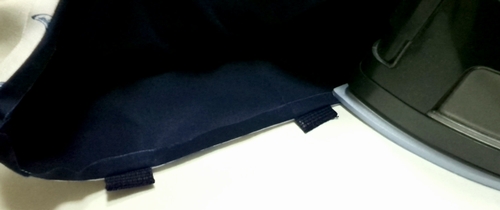
2. Remove the bastings from the handle.
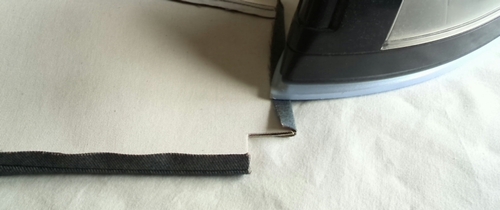
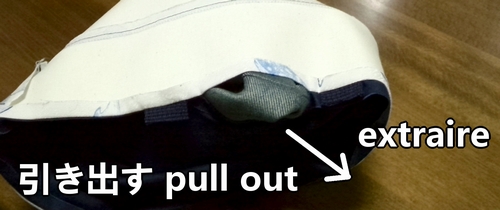
3. Press seam allowances open, and turn the bag inside out.
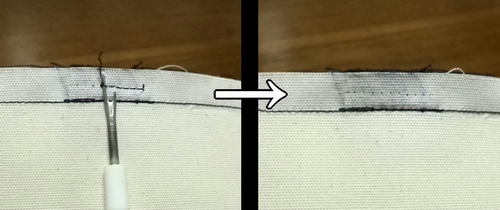
4. Iron the opening and stitch in place. There are many layers of fabric in the opening, and it’s quite thick, so work carefully.

5. Finally, apply a finishing iron to give the bag a nice shape. Your patched tote bag is now complete.
Following is the video for how-to.