How do you use fusible interfacing? (Fusible interfacing for sewing) – Iron on interfacing
How to use fusible interfacing for sewing. (How to apply iron-on interfacing.) Ironable interfacing for sewing can melt if the temperature is too high, and it easily wrinkles if it shifts out of place. Even when you’re trying to be careful, it’s easy to mess up when applying fusible interfacing. I’ve been there too.
Normally, when it comes to applying iron-on interfacing (ironable interfacing), you press down and move the iron slowly across the fabric as you go…

In my case, when I applied fusible interfacing using this method, the fabric often wrinkled or the fusible interfacing peeled off. So, I decided to change the way I apply fusible interfacing.

My own method for using fusible interfacing (A slightly different way to apply fusible interfacing)
※Notice:This method of applying fusible interfacing is purely my own way. (It’s not the standard method.) So if you decide to try it, please do so at your own risk.
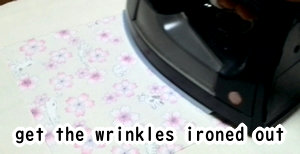
1. Press the fabric with an iron to smooth out any wrinkles, and remove any loose threads or lint before applying the fusible interfacing (interfacing fabric).
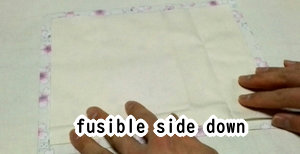
2. Place the fusible interfacing with the adhesive side facing down, and put a pressing cloth on top.
3. First, press the iron over the pressing cloth to smooth it out. (Set the temperature according to the instructions on the interfacing.) At this stage, the focus is not on “fusing”, but on removing wrinkles from the pressing cloth and making sure it lies flat and close against the interfacing.

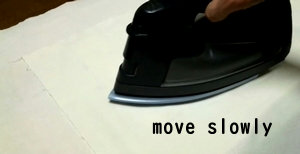
4. Next is the “fusing” step. Hold the iron slightly above the fabric and slowly slide it to evenly distribute the heat. If you press the iron down all at once, it can cause wrinkles or misalignment.
The feeling should be like about half of the iron’s weight resting on the fusible interfacing.
5. Once the heat has spread evenly and the fabric has warmed up, press the iron down firmly to bond the fusible interfacing. Apply the iron slowly from various directions to ensure the entire area gets heated evenly.
Do not put your body weight on the iron : just press down lightly.

6. After fusing, leave it as is until it cools to room temperature.

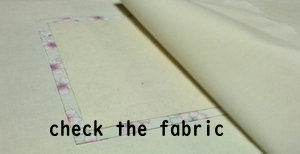
7. Once it has cooled, remove the pressing cloth and check for wrinkles or any peeling of the fusible interfacing. This completes my own method of applying fusible interfacing (iron on interfacing).
Making movie is the following.