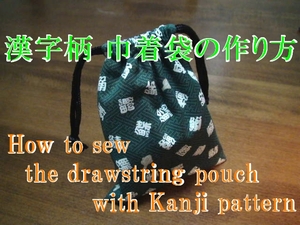
How to make a calm Kanji pattern drawstring bag (How to sew a stylish Japanese drawstring pouch)
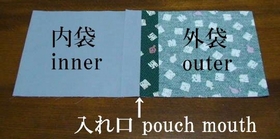
How to make a drawstring bag using Kanji pattern fabric. (Diy drawstring pouch.) This drawstring bag is relatively easy to make. First, sew the outer fabric and lining together with the right sides facing to make the opening of the drawstring bag.
Then sew the sides to form a pouch shape. Turn it right side out through the opening, and create the channel where the drawstring will pass through. Finally, close the turning opening with hand stitching, and thread the cord through the top of the bag to complete the drawstring bag.
This drawstring bag (drawstring pouch) is a perfect size for small items and is also useful for organizing things inside your bag. A drawstring bag can be easily opened and closed just by pulling the cord, so it is perfect for everyday use.
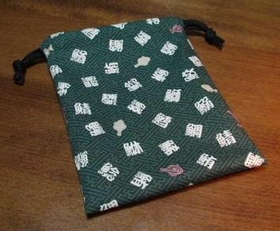
Since this drawstring bag (drawstring pouch) has a relatively simple construction, it’s a project that beginners in handmade crafts can easily try. The finished size of this kanji-pattern drawstring bag is about 19cm high and 15cm wide.
Materials for a Kanji-pattern drawstring bag (Materials for a lined drawstring pouch)
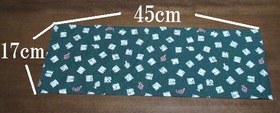
For the kanji-pattern drawstring bag (drawstring pouch), one piece of outer fabric measuring 17cm × 45cm is needed (including seam allowances).
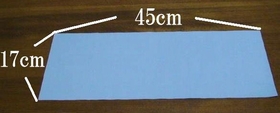
For the kanji-pattern drawstring bag, one piece of lining fabric measuring 17cm × 45cm is needed (including seam allowances).
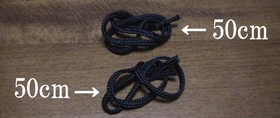
The cords used for the drawstring bag are two pieces, each 50cm long.
How to make a Kanji-pattern drawstring bag (DIY drawstring pouch)
Place the outer fabric and lining of the kanji-pattern drawstring bag (drawstring pouch) right sides together, and sew 3cm from both ends.

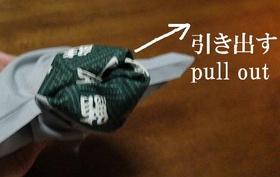
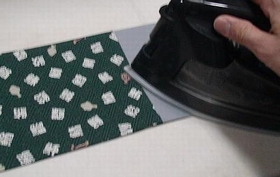
Move the sewn section (this will become the opening of the drawstring bag) to the center, and press the seam allowances open.
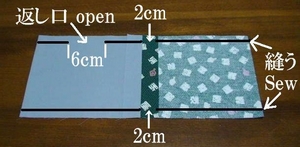
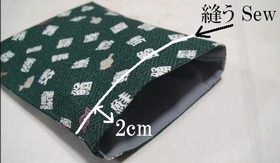
Sew the side seams of the kanji-pattern drawstring bag. Leave a 6cm opening for turning and a 2cm opening for the drawstring unsewn.
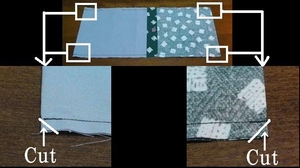
Cut the seam allowances at the bottom of the kanji-pattern drawstring bag diagonally. Trimming the excess seam allowance will help the bottom keep a neat shape when the bag is turned right side out. Press the seam allowances open with an iron.
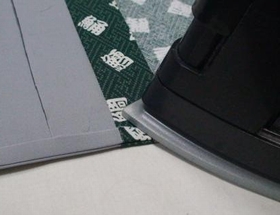
Turn it right side out through the opening, press it with an iron, and shape the kanji-pattern drawstring bag.
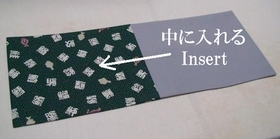
Place the lining inside the outer fabric of the kanji-pattern drawstring bag, and sew all the way around 2cm below the top edge of the bag. This will create the channel for the drawstring.
Close the turning opening with hand stitching.

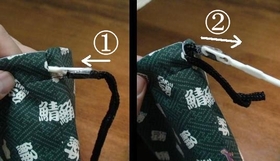
Thread the cord through the opening, and the kanji-pattern drawstring bag (drawstring pouch) is complete.
Making movie is the following.