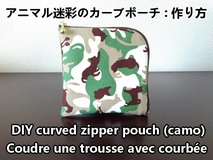
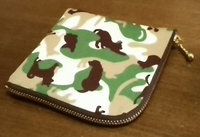
How to sew a curved zipper pouch (camo)
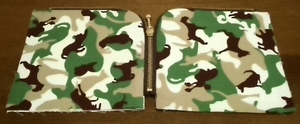
Today’s handcrafted goods is “DIY animal camo curved pouch".
Materials
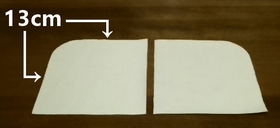
Outer body fabrics, about 13cm by 13cm are 2 pieces. (Seam allowances are included, attach interfacing)

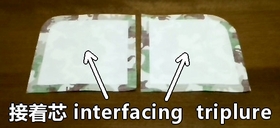
Fusible interfacing gives fabric firmness, and keeps shape of pouch.
Inner body fabrics, about 13cm by 13cm are 2 pieces. (Seam allowances are included)
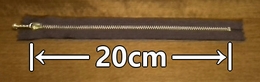
20cm zipper.
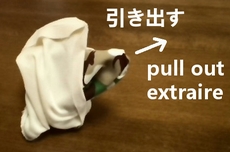
Fold the both ends of zip tape, and sew.
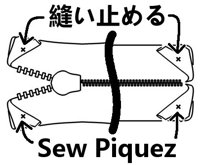
How to fold zipper tape extensions. More info.
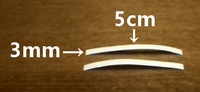
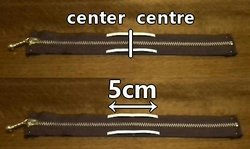
Iron-on double sided fusible tape, 3mm by 5cm are 2 pieces. (It’s not necessary but convenient.)
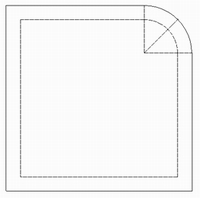
Pattern is here.
Install the zipper
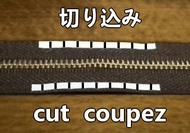
1. Place the fusible tape on the right side of zipper tape.
2. Iron the fusible tape 2~3 seconds. (Dry, Medium heat:140~160℃)

3. Allow to cool briefly, and make a cut in zipper tape.
4. Remove the release paper.
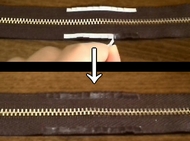
5. Lay the fabric and zipper with right side together. Then iron, 2~3 seconds. (Dry, High heat:180~200℃)
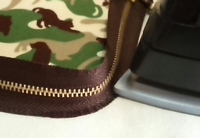
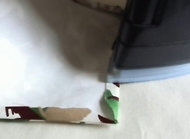
6. Sew. Then make a cut in zipper tape.
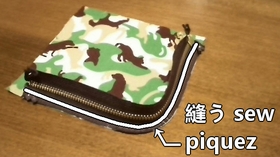
7. Sew the outer and inner with right side together. (It is better to baste.)
8. Cut off extra seams.
9. Sew the other side of zipper, do the same way. (Be careful about sewing)
Make the pouch
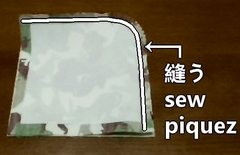
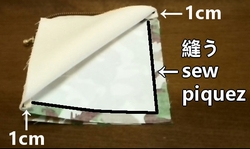
1. Sew the outer fabrics with right side together. (Don’t sew 1cm from the edges.)
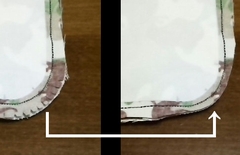
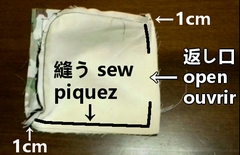
2. Inner fabrics, do the same way. (Leaving 6cm open for turning.)
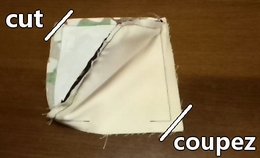
3. Cut off extra seams, and press seam allowances open.
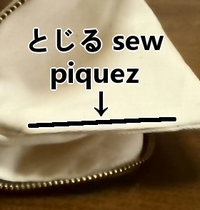
4. Turn inside out. Then sew the hem. It’s done.
Making movie is the following.