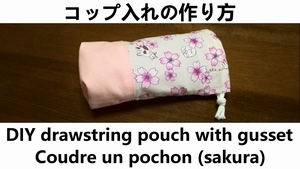
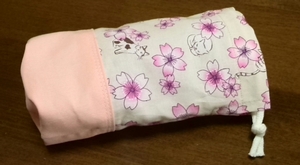
DIY drawstring pouch with gusset
Today’s handcrafted goods is “drawstring pouch with gusset".
Materials
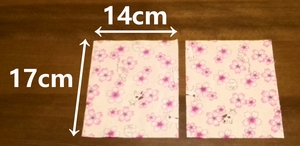
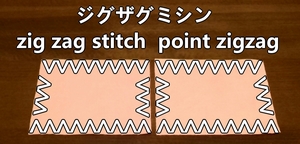
Main fabrics, 17cm by 14cm are 2 pieces. (Seam allowances are included)
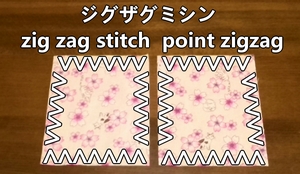
Sew the edge of fabrics with zig zag stitch. (for anti-fray)
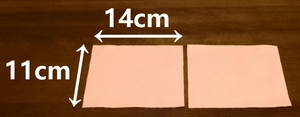
Bottom patch fabrics, 11cm by 14cm are 2 pieces. (Seam allowances are included)
Sew the edge of fabrics with zig zag stitch. (for anti-fray)
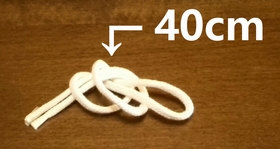
Cord is 40cm.
Make main fabrics
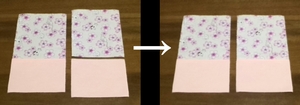
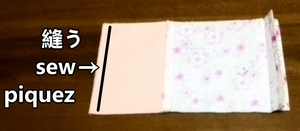
1. Sew the main fabric and bottom patch with right side together.
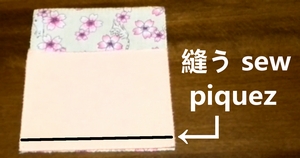
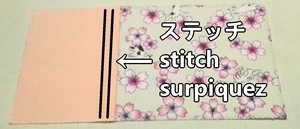
2. Press seam allowances to bottom side, and stitch.
3. Other main fabric and bottom patch, do the same way.
Make drawstring pouch
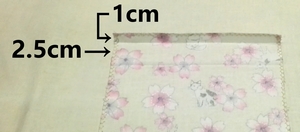
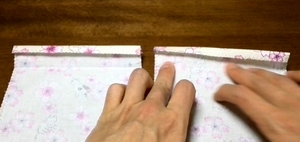
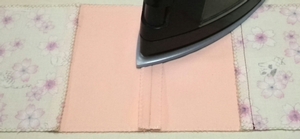
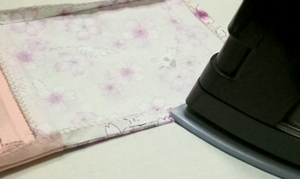
1. Fold and press the top edge. (1cm、2.5cm)
When making creases, it is recommended to use an sewing ruler for iron. The folds are neat and the finish is nicely.
2. Unfold the crease (2.5cm).
3. Lay the fabrics with right side. Then sew the bottom, and press seam allowances open.
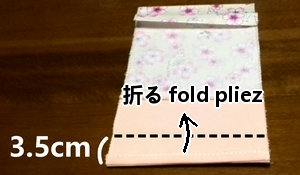
4. Fold the 3.5cm gusset from the bottom.
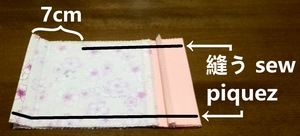
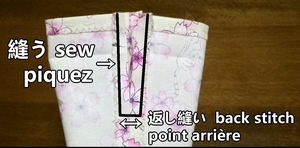
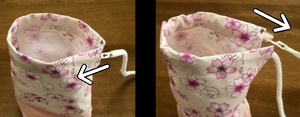
5. Sew the side. (Don’t sew 7cm from the top edge.)
6. Press seam allowances open, and sew the side seams with U-shaped.
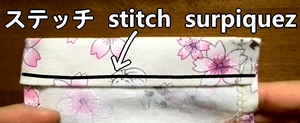
7. Fold and press the fabric (2.5cm). Then stitch.
8. Turn inside out.
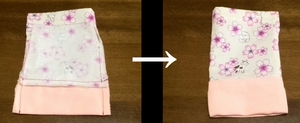
9. Thread the cord through, and tie the cord ends. It’s done.
Making movie is the following.